How to Remove Construction Dust from Your Car Interior in Erin

DIY cleaning can remove loose construction dust, but a rushed vacuum may leave fine particles in carpet fibres, upholstery and narrow seams. For construction dust removal from a car interior in Erin, work from the top down, then vacuum soft surfaces with a HEPA-filter vacuum. If dust remains, vacuum them a second time.
It’s understandable to want the dust gone quickly, especially when it keeps reappearing on the dashboard or seats. A careful, methodical clean helps prevent wiping dust back onto areas you’ve already cleaned. Vents and tight crevices can also be difficult to reach.
This guide explains where construction and silica dust can collect, how to clean hard surfaces and vacuum carpets and upholstery, and what to consider around vents and the cabin air filter. You’ll also learn when DIY cleaning may be enough and when professional interior detailing may help with dust that remains embedded or keeps resurfacing.
Table of Contents
HEPA-filter vacuuming of carpets and upholstery
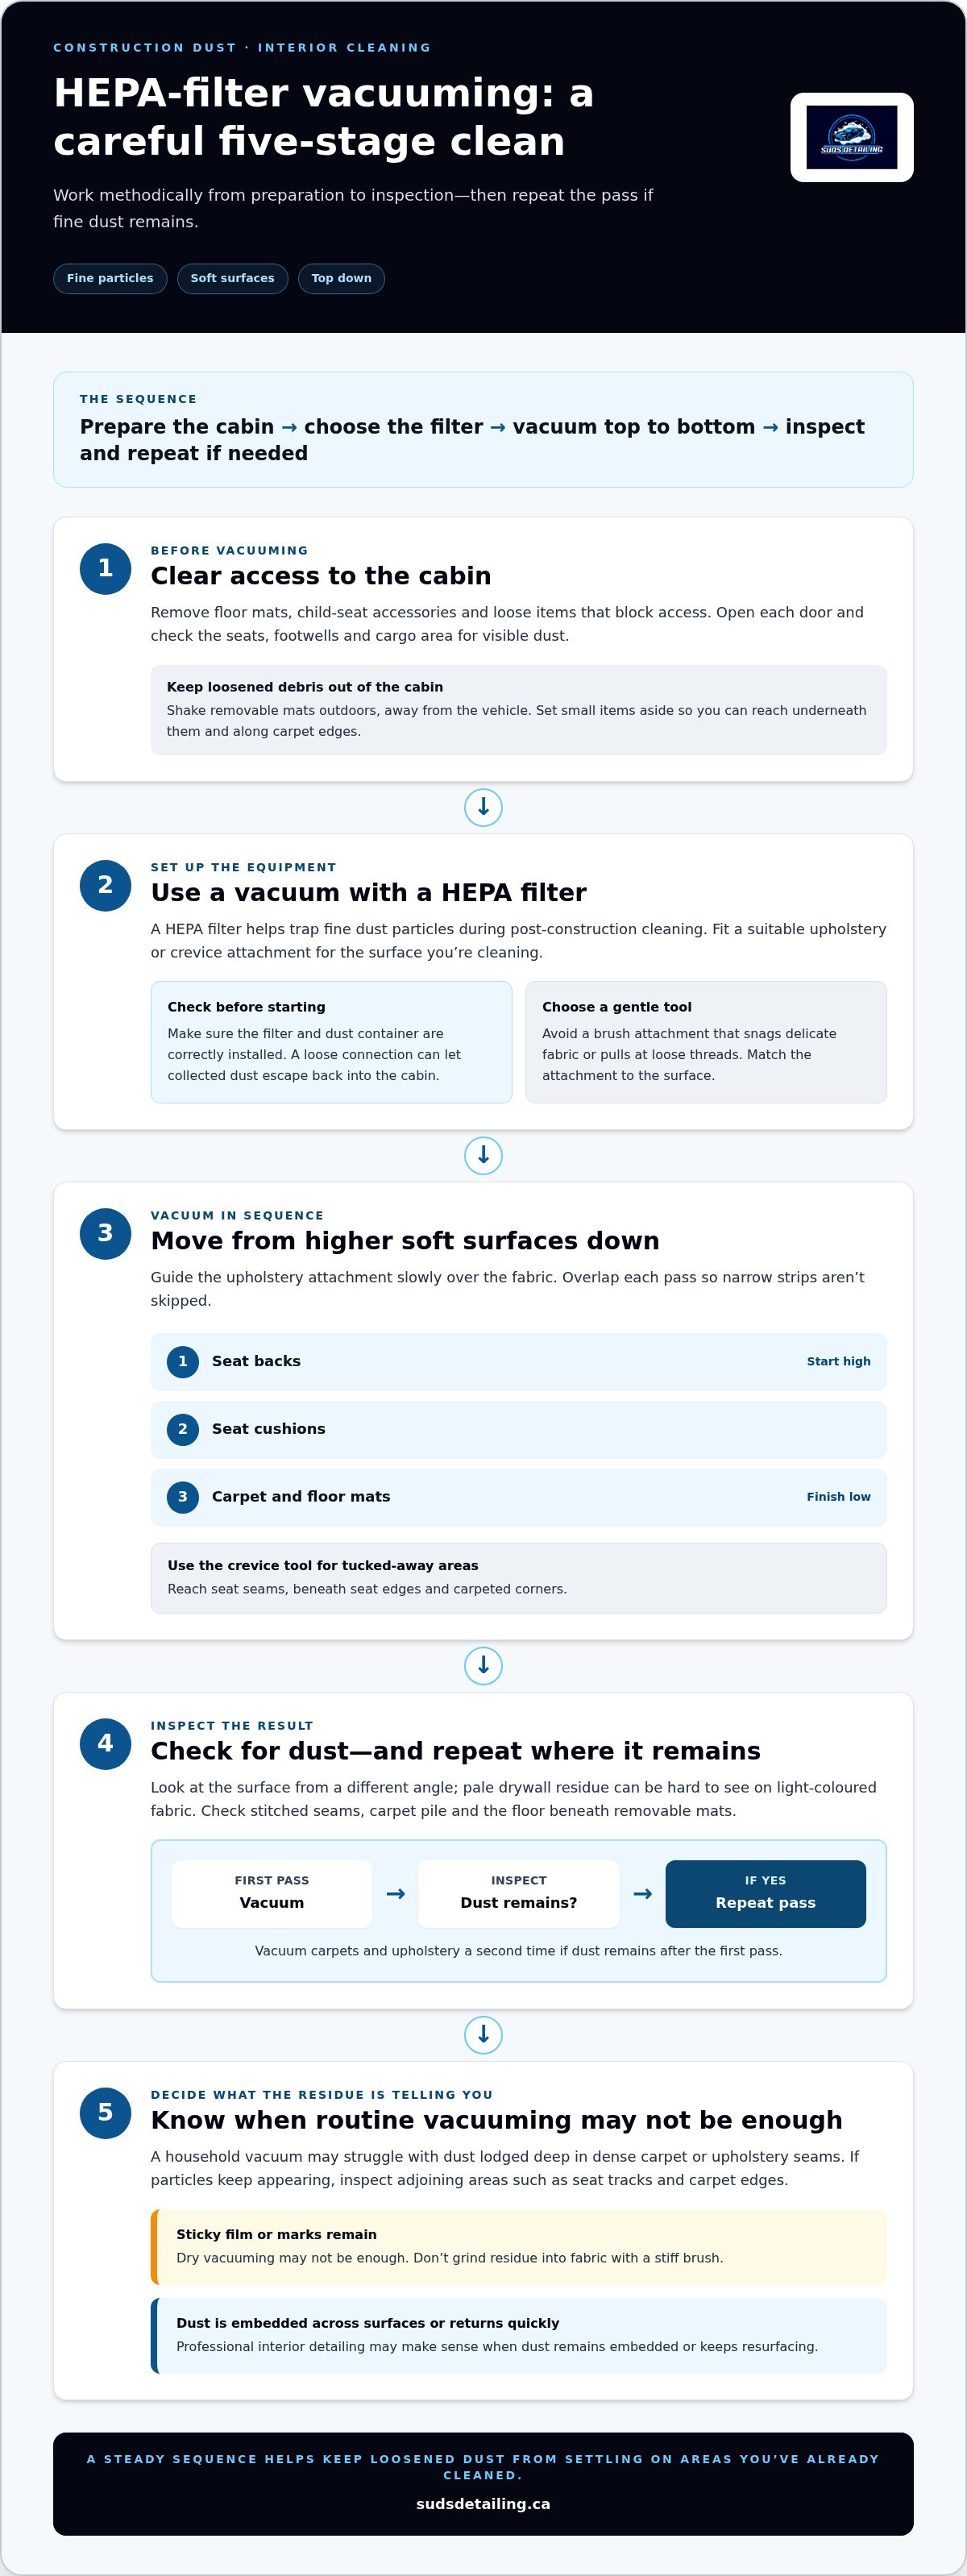
Prepare the cabin before vacuuming. Remove floor mats, child-seat accessories and loose items that block carpet access. Open each door and inspect the seats, footwells and cargo area for visible dust. Shake removable mats outdoors, away from the vehicle, rather than inside the cabin. This keeps loosened debris from settling onto upholstery again. Set aside small items so you can vacuum beneath them and along the edges where carpet meets trim.
Choose a vacuum with a HEPA filter. A HEPA filter helps trap fine dust particles during post-construction cleaning. Fit the vacuum with a suitable upholstery or crevice attachment, and check that the filter and dust container are correctly installed. A loose connection can let collected dust escape back into the cabin. Avoid a brush attachment that snags delicate fabric or pulls at loose threads. Match the tool to the surface before starting each area.
Work in deliberate, overlapping passes. Start with the highest soft surfaces, such as seat backs, then move down to seat cushions, carpet and floor mats. Hold the upholstery attachment close to the fabric and guide it slowly across each section. Overlap passes so narrow strips aren’t skipped. Use the crevice tool along seat seams, beneath seat edges and around carpeted corners. This steady sequence helps capture dust without scattering it across cleaned areas.
Repeat the pass where dust remains. Vacuum carpets and upholstery twice if dust remains after the first pass. Check the surface from a different angle, since pale drywall residue can be hard to see against light-coloured fabric. Pay attention to stitched seams, carpet pile and the area beneath removable mats. Lift mats again after vacuuming and inspect the floor beneath them. If fine particles are still visible, repeat the careful pass rather than brushing them into the fabric.
Recognize when routine vacuuming isn’t enough. A household vacuum may struggle to reach dust lodged deep in dense carpet or upholstery seams. If particles keep appearing after cleaning, inspect adjoining areas, including seat tracks and the carpet edges. A sticky film or marks that remain after dry vacuuming may need a different cleaning method; don’t grind them into fabric with a stiff brush. When dust is embedded across multiple surfaces or returns quickly, professional interior detailing may make sense.
Construction dust and silica dust
To limit dust entering a car during renovation, park away from cutting and sanding, keep windows closed near active work, and use a clean cover when parked. Professional interior detailing time depends on the amount of dust, the surfaces affected and how deeply particles have settled.
Identify the likely dust source. Drywall work can leave pale, powdery residue on clothing, tools and carried materials. Cutting or grinding concrete, brick or stone can produce dust containing silica. The particles may look similar once they settle inside a vehicle, so consider what work was happening nearby. Note whether dust came from a worksite, dusty clothing, materials or equipment. This helps you decide which cabin areas need the closest inspection.
Reduce transfer before getting into the car. Keep work clothing, boots and tools away from seats and carpet. Place dusty equipment in a closed container or covered cargo area, rather than on upholstery. Brush loose soil from footwear outside before stepping into the cabin. If you use a protective cover, secure it without rubbing dusty surfaces against the door trim. These habits reduce the amount of residue carried into the cabin after each trip.
Protect the vehicle while work is underway. Park farther from active cutting, mixing and sanding whenever practical. Close windows and doors near those tasks, and avoid leaving the vehicle open while loading materials. A cover can shield exposed surfaces when the vehicle is parked, but remove it carefully outdoors so settled dust doesn’t fall inside. Keep the driver’s seat and footwell clear for entry, then vacuum those areas if visible residue appears.
Handle suspected silica dust cautiously. Don’t blow dusty surfaces with compressed air or brush them vigorously inside the cabin. Those actions can lift settled particles and spread them onto seats, controls and vents. Avoid shaking dusty clothing or mats inside the vehicle. Use controlled cleaning methods, and keep dust from migrating into adjacent areas as you work. If residue follows concrete or masonry cutting, treat it as a fine-particle cleanup rather than ordinary tracked-in dirt.
Match detailing time to the cleanup required. A lightly dusted cabin with accessible fabric differs from one with residue in seams, under seats and around trim. The vehicle’s size, upholstery type, dust source and need for repeated cleaning all affect the work sequence. For dust spread across carpets and upholstery, a professional interior detailing appointment can provide a more thorough cabin clean than a quick surface wipe. Describe where dust settled when arranging the service.
Where dust collects inside a car
Inspect the dashboard and upper trim first. Fine residue settles on the dashboard, instrument panel, door tops and centre console. Look along the edges where the windshield meets the dash. Check around buttons, cup holders and the gear selector, where narrow gaps can hold powder. Use a light cloth to reveal dusty areas without sweeping particles into nearby seams. Start at these higher surfaces so you can identify where loose dust may fall during cleaning.
Check seat seams and stitching. Upholstery folds, piping and stitched seams can catch fine particles carried in on clothing. Run your eyes along the seat base, backrest joins and headrest supports. Inspect beneath removable seat cushions only if they lift easily and safely. Dust can gather where the cushion meets the side bolster, especially near the door. Note whether the material is cloth or leather, since the appropriate cleaning method can differ.
Look beneath seats and around seat tracks. Use a flashlight to inspect the floor under each seat, including the rails and brackets. Dust can collect where carpet rises around the track or meets plastic trim. Move seats forward and back only when the vehicle is parked safely. Check the rear footwells and the space beneath child seats, too. These areas are easy to miss during a quick cabin inspection, yet they can hold residue tracked in from footwear.
Examine mats, carpet edges and cargo areas. Lift each floor mat and inspect both its underside and the carpet below. Check along door sills, under pedals and around the edges of the footwell. In hatchbacks, SUVs and vans, look at cargo carpeting and the corners beside storage compartments. Dust may remain where tools, boots or construction materials were carried. Keep removed mats outside the cabin while inspecting them to avoid transferring settled particles back inside.
Include small controls and frequently touched surfaces. Check steering-wheel seams, stalks, door handles, window switches and the area around the centre display. Dust often settles around raised buttons and in the narrow joint between trim panels. Inspect the rear seat belt buckles and door pockets, where debris can gather unnoticed. Make a short checklist by cabin zone, then mark each area as you inspect it. This organized approach helps distinguish isolated residue from dust spread throughout the interior.
How to clean drywall dust from car air vents and cabin air filter
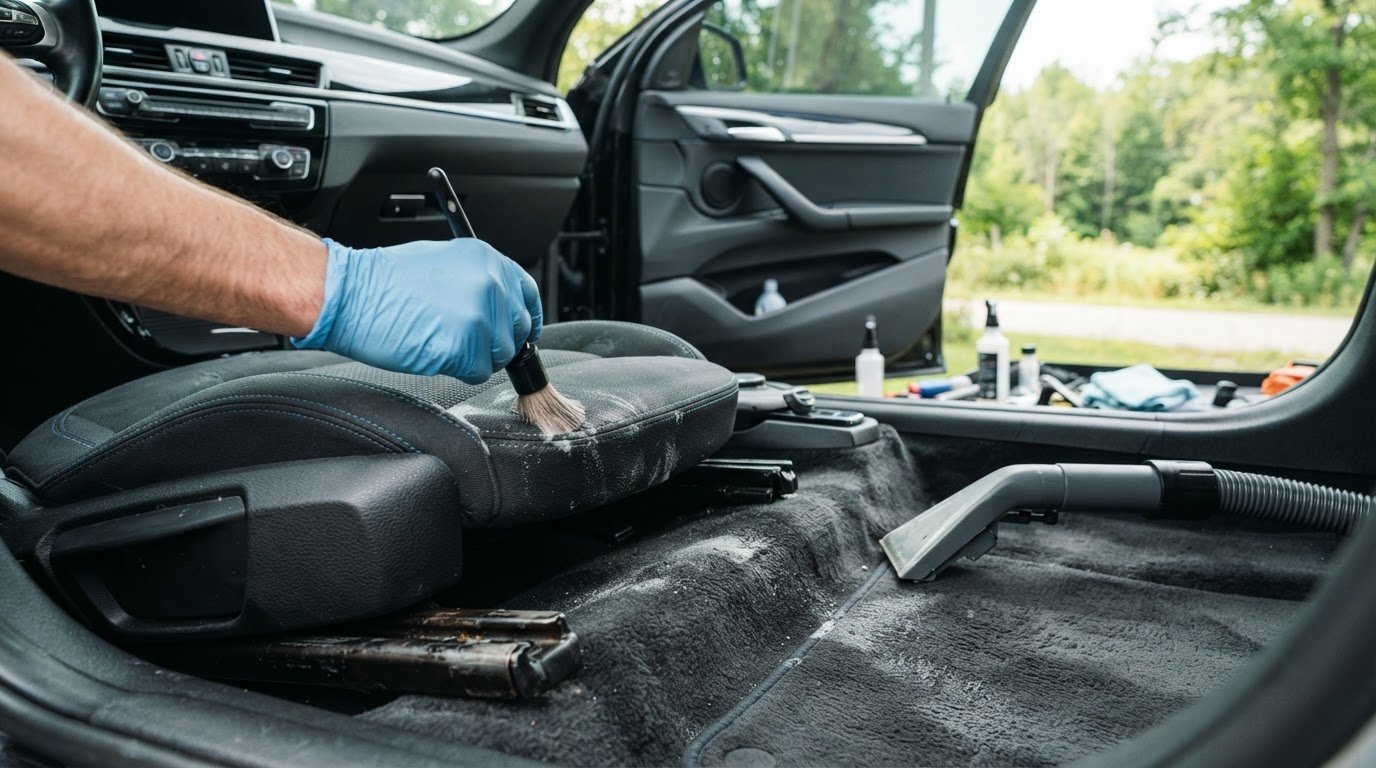
Turn off the vehicle before cleaning vents. Switch off the fan and ignition before working around the dashboard. Use a soft detailing brush or clean microfibre cloth to lift visible dust from vent faces and surrounding trim. Work gently around adjustable louvers, since force can shift or damage them. Avoid blowing dust deeper into the ducts with compressed air. Keep the cloth clean as you move between vents, so collected residue isn’t transferred back onto the controls.
Remove vent covers only when they’re designed to come off. Check how each cover attaches before pulling or prying. If a cover releases easily, remove it carefully and wash it with soap and warm water. Let it dry thoroughly before reinstalling it. Don’t soak fixed dashboard components or pour water into the vent opening. If a cover resists removal, clean the accessible surface with a brush instead of forcing the clips or trim.
Clean around the vent opening without pushing dust inward. Use a narrow vacuum attachment near the opening while gently loosening residue with a soft brush. Keep the nozzle close enough to collect dust, but avoid pressing it against delicate louvers. Wipe the surrounding dashboard afterwards, including the edges below the vent. If dust falls onto the console during cleaning, remove it before moving to another area. This contained approach helps prevent residue from spreading across already-clean surfaces.
Locate the cabin air filter using the vehicle manual. Its position and access method vary by make and model. The filter may sit behind a glove compartment or beneath a dashboard panel, so follow the vehicle’s instructions before opening anything. Remove the filter carefully and look for visible dust or debris. Note the airflow direction marked on the filter or housing before removal. Keep the opening clear of loose residue while inspecting the compartment.
Handle the filter according to its design. A dusty disposable filter should be replaced with the correct type for the vehicle, following the manual’s installation direction. Don’t wash or vacuum a filter unless its manufacturer identifies it as reusable. Seat the replacement evenly, then close the housing securely. If dust continues to blow from the vents after cleaning, avoid repeatedly running the fan to test it. Persistent residue may be inside the ductwork, beyond the surfaces you can reach through the vents.
For any vent cover that is suitable for removal, keep the cleaning sequence simple: remove the cover, wash it with soap and warm water, and let it dry thoroughly. Treat those steps as one complete process rather than returning a damp cover to its place. The same approach applies to each removable cover you clean: use the stated wash, allow thorough drying, and only then consider the cover ready to go back. Avoid adding a different cleaning method to this instruction. Keeping the work focused on soap, warm water, and complete drying follows the recommendation without extending it to materials or treatments not specified here.
Can construction dust damage a car interior or HVAC system
Remove dry dust before wiping surfaces. Fine construction residue can act like grit between a cloth and a glossy dashboard. Rubbing it across piano-black trim or a touch screen may leave marks. First lift loose particles with a suitable vacuum or soft brush. Then use a clean microfibre cloth appropriate for the surface. Avoid pressing grit into leather, plastic or display coatings. A dry wipe across a dusty centre console can spread particles instead of removing them.
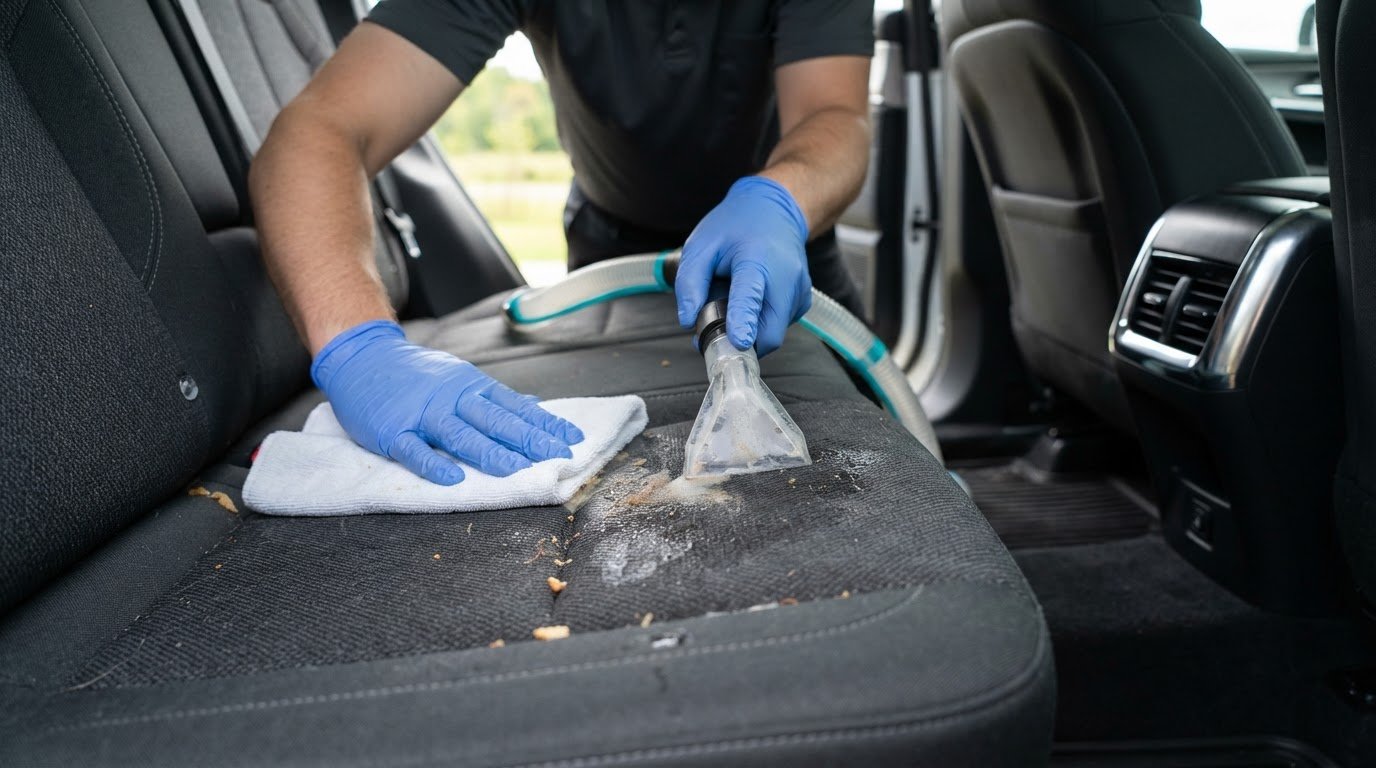
Check upholstery and carpet for embedded residue. Dust can settle into fabric fibres, seat stitching and carpet pile. Repeated friction from shoes or clothing may work particles farther into those materials. Vacuum affected areas carefully, including beneath floor mats and around seat edges. If powder remains visible after cleaning, avoid scrubbing aggressively. Vigorous brushing can roughen some fabrics and move residue into seams. Inspect light-coloured seats and dark carpets from different angles to spot remaining traces.
Watch for changes in cabin airflow. Dust around vents or a loaded cabin air filter can interfere with clean airflow through the vehicle’s ventilation system. Notice whether air from the vents seems weaker or carries visible residue after the cabin is cleaned. These signs don’t establish a specific fault, but they point to areas needing attention. Inspect the filter according to the vehicle manual. Keep loose dust out of the filter housing during removal and replacement.
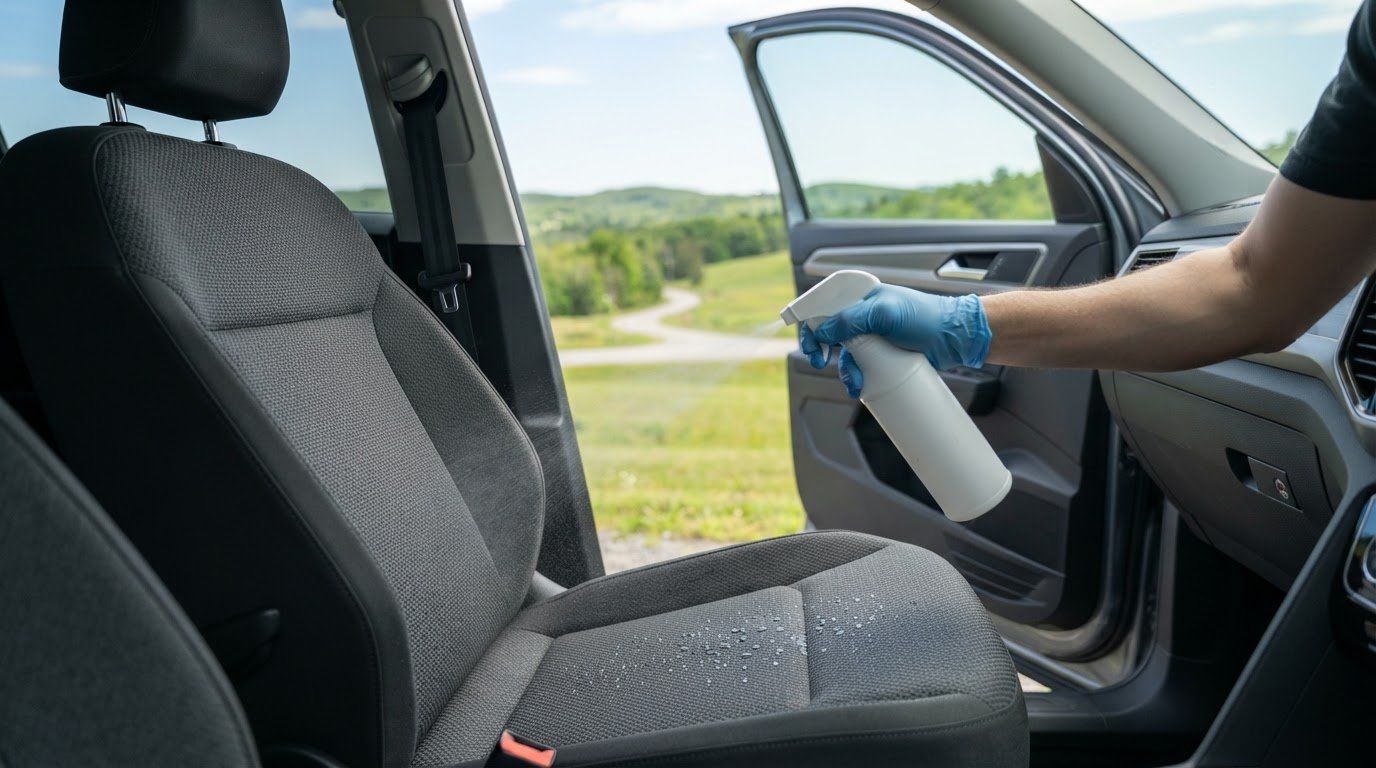
Keep liquids away from electrical controls. Drywall powder on a switch panel or console can tempt a quick spray-and-wipe. Don’t apply liquid directly to buttons, screens, vents or seams. Moisture can run into openings and leave residue behind. Instead, apply a suitable cleaner to a cloth, following the vehicle’s care instructions. Use a lightly dampened cloth only on compatible surfaces, and dry the area promptly. Treat steering-wheel controls and the display as delicate components.
Assess whether more than routine cleaning is needed. Dust limited to a mat or one seat may be manageable with careful cleaning. Residue across carpets, upholstery, vents and trim calls for a more systematic interior clean. If dust returns after cleaning, check the filter and overlooked cabin areas before repeating the same wipe-down. A persistent airflow concern may require vehicle-system attention beyond interior detailing. For widespread cabin residue, book an interior detailing appointment to address affected surfaces methodically.
Suds Detailing: Fleet Services
Suds Detailing provides Fleet Services for businesses that need regular care for work vehicles, as well as interior detailing for individual vehicles. The Basic Interior Package includes steam cleaning of floor mats, the dashboard, centre console, cup holders and door panels, plus vacuuming of seats and carpets and spot-free interior glass. The Full Interior Package adds seat and carpet steam cleaning with stain removal, vinyl protectant, and leather treatment and protectant. For service in Erin and nearby communities such as Grand Valley, Caledon, Orangeville, Mono and Arthur, book online or call Suds Detailing to choose a package for your vehicle or fleet.
Keep Your Cabin Ready for the Next Drive
After construction cleanup, make your next drive part of your prevention plan. Keep dusty work clothes and equipment separate from the passenger area, and avoid placing materials directly on clean seats or carpets. This can help limit new dust settling into upholstery, seams and floor coverings.
For construction dust removal from your car interior in Erin, consider the amount of residue and where it has spread before choosing your next step. A contained patch may call for careful DIY attention; dust across several surfaces can make a more thorough interior clean a practical choice. Suds Detailing offers Fleet Services for work vehicles, alongside interior and in-and-out detailing packages for individual vehicles.
Share what you’ve noticed in the cabin and take the next step at your pace. Contact Suds Detailing about your car to discuss your vehicle’s interior care. With a deliberate approach, you can get back to a cleaner, more comfortable cabin and keep it ready for the road ahead.
Frequently Asked Questions
DIY Cleaning or Professional Detailing: Which Fits the Dust?
DIY cleaning may suit a small, accessible patch of dust; professional detailing can help when residue covers several cabin surfaces. Dust on one removable mat, for example, is a different cleanup from residue across seat seams, carpet and trim. Consider whether you can reach each affected area without spreading particles. If dust keeps returning after cleaning, Suds Detailing’s steam-cleaning interior packages are a practical next step.
How long does professional interior detailing for construction dust take
Professional detailing time depends on the amount of dust, the affected surfaces, how deeply particles have settled, the vehicle’s size and upholstery type, and whether repeated cleaning is needed.
Comments